Making my Apply Animation via Photoshop was an easy process to gain both good lineart and colour to the 5-10 second short. By using Photoshop, I can use the Frame by Frame animation, making it easier to make slight changes to the frames or reducing/increasing frames to make a smooth animation.
Through out the animation, I found it easier to separate parts of the sequence with in group folders, this helped me to keep my work organised and not become confused with which frame I would be working.
Here are a few screen shots to show how I edited my frames:
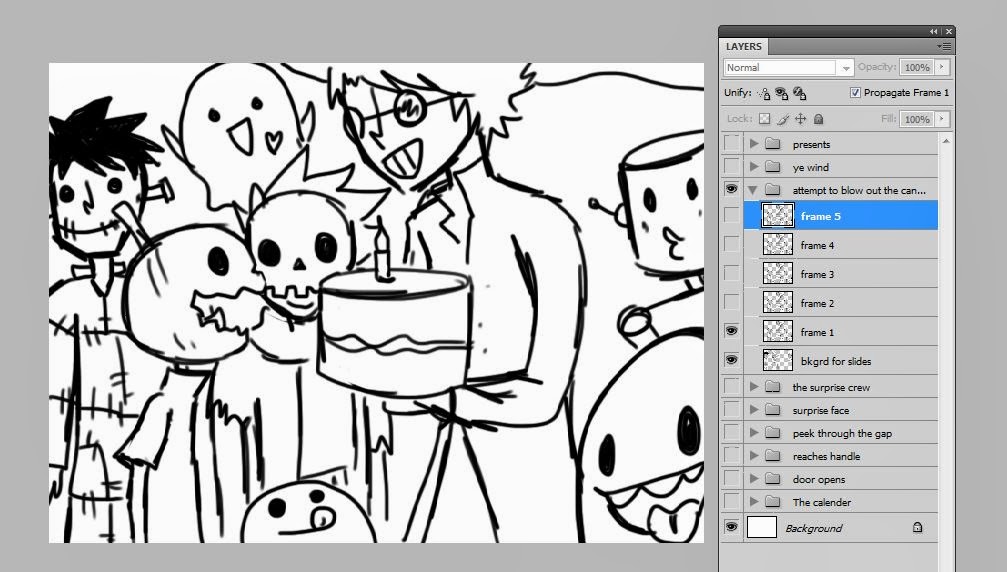 |
| I first quickly sketched out the frames before editing the lineart. It is easier for me to sketch in a big brush size as when editing I can clearly differentiate the sketch and the final ink. |
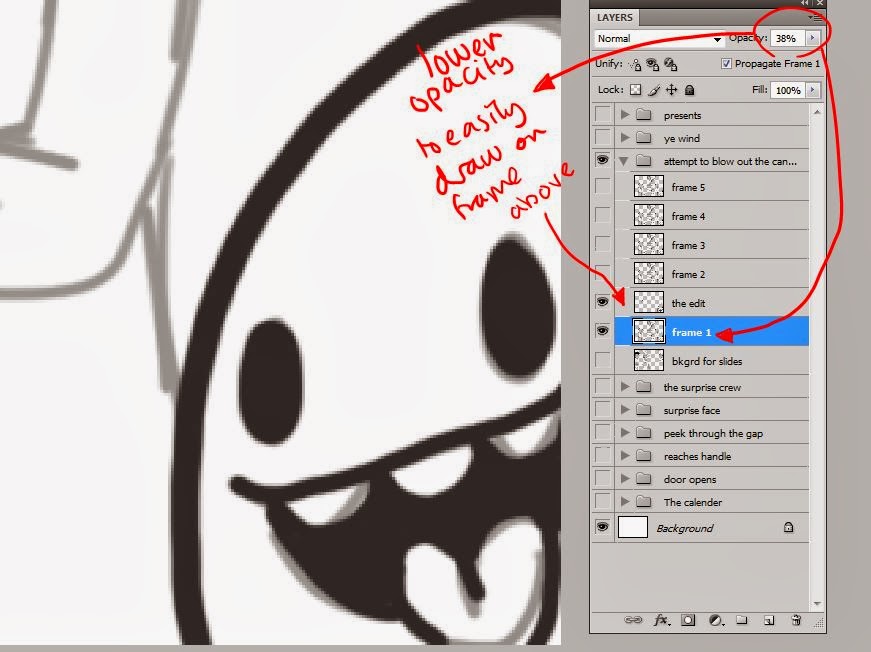 |
| To edit the lineart, I first lower the opacity of the sketch layer and ink on top. |
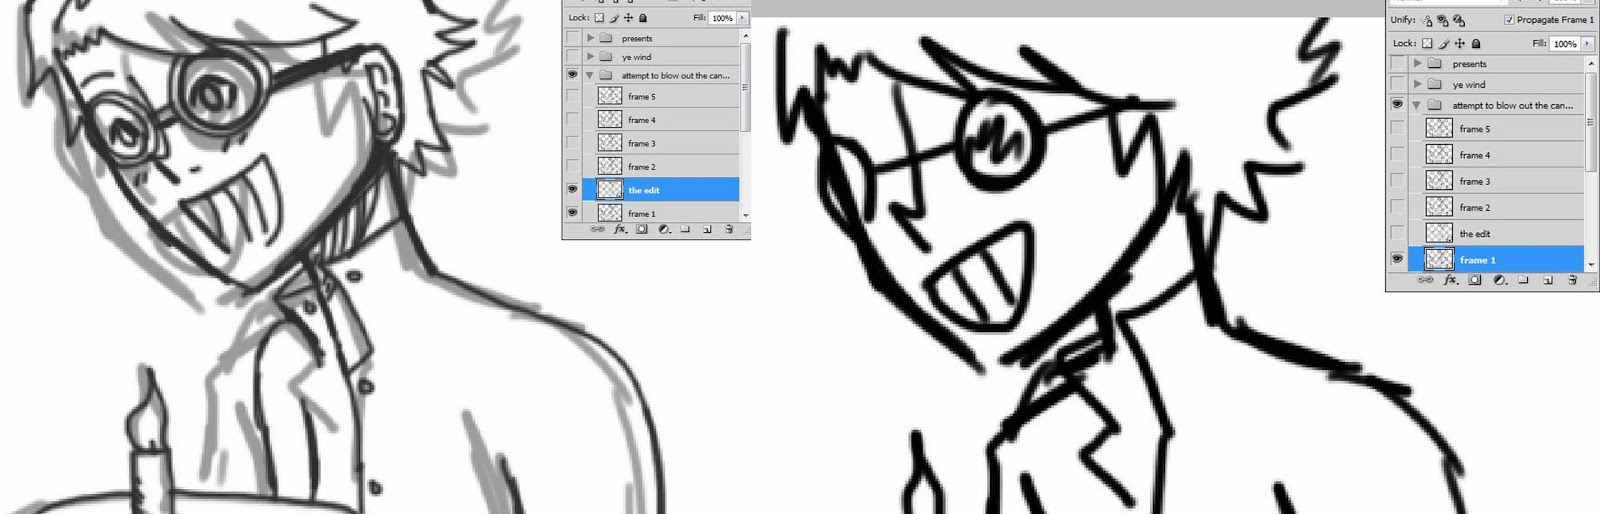 |
| Comparing sketch to final lineart |
 |
| Final lineart - I worked mainly on a basic 4pt brush to get the detail of the characters. |
 |
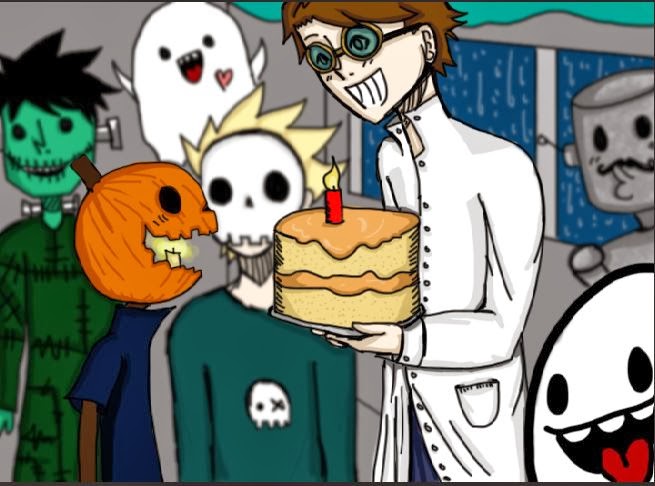
| I purposely separated the foreground and main characters lineart and coloured this separately so that I can later blur the characters in the background to create a better sense of depth and focus the attention on the main characters. |
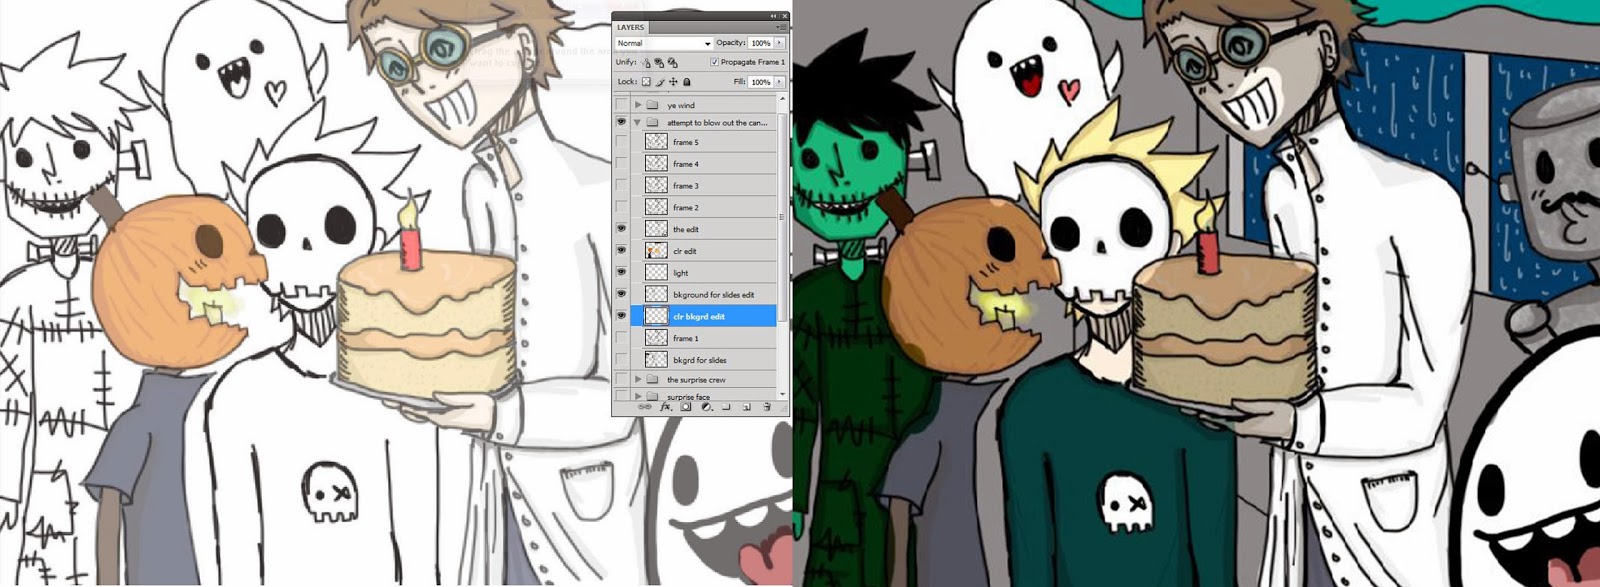 |
| Comparing the background colour - before and after |
 |
| Final edit, adding a slight Gaussian blur. | | | | | | | | | |
|
|
|
No comments:
Post a Comment