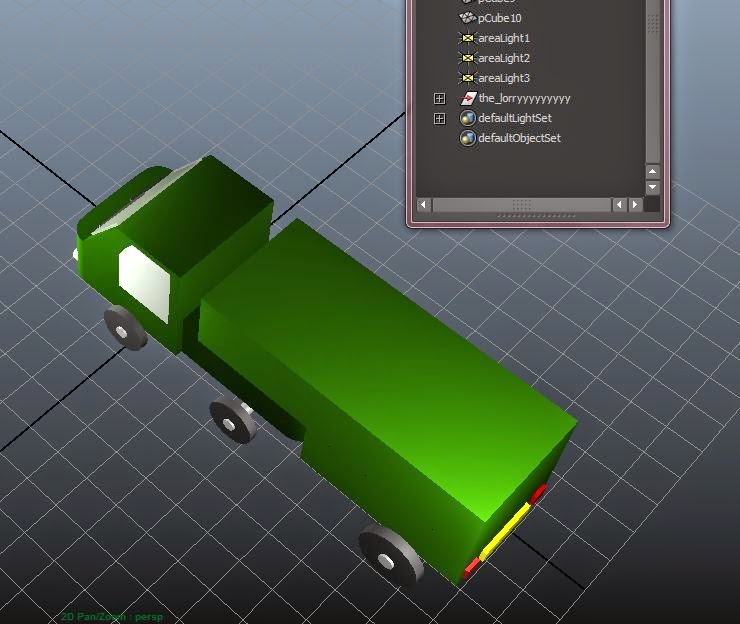
There are a few ways to add colour to the selected polygon, such as:
+ Using Hypershade - Hypershade allows you to save shaders that you have made and apply to more than one polygon at once.
+ Assign new material - by right clicking on the polygon, you can choose a shader and then in the attributes menu you can change the colour. You can also select a texture for the polygon by clicking on the checked box next to the colour scroll. Depending on which basic shader that you use for the polygon, it will create a basic shine to the object. I found that by adding a contrasting colour for the spectral colour helps to make the polygon look as if it has been stylized with a cartoony or painted appearance.
 |
| Colour attributes |
I found that you could also add your own files for textures as well as, however I have yet to be able to change the size of the texture with in the polygon, as a solution to this problem, I created another cube shape in which I added to the lorry and then merged this with the side of the lorry.
 |
| Lorry - Coloured |
 |
| Final rendered image |
No comments:
Post a Comment