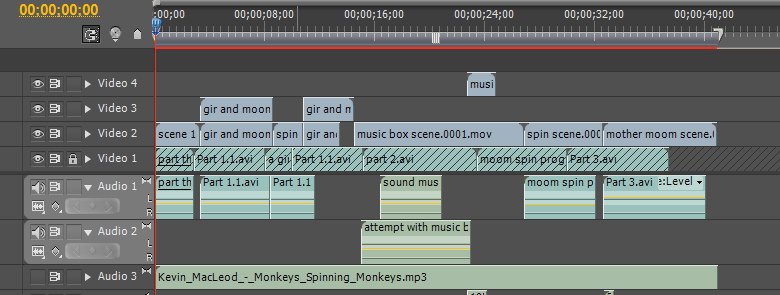
Another effect that is helpful for merging the video tracks together, are the use of blending modes that are located in the sequence effects. Under the opacity effects, you can change the blending modes, to overlay, multiply etc much like the software Photoshop when stacking and using layers. These blending modes are helpful when you want the visuals to merge with one another, or add a texture over the top of the video to make it appear aged or have a grunge like appearance to the aesthetics.
With the sound effects, I researched into different sounds that would suit the animation and narrative, using sites such as Free Music Archive and Free Sound. Both of these sites took the sound effects with a twist, a different route compared to each other. For example the free music archive contained a sound track and a fuller breath of a musical track, whereas the free sound website contained sound recordings of different audio, being a few seconds long at the most. I felt that the best site to help me with the sound effects that I needed for my animation. For my animation I needed to obtain a sound that would work for the squeak of the green bear, the music box and the slam of the lid from the music box. I couldn't exactly find the right sound that I needed for the sound of the music box and the slam of the lid, so I tried to find the closest audio to what I wanted it to be, and opened it with in Audition.
 |
| Example of stretched and pitched audio file |
The Audition software allows you to manipulate, the audio clip that you have imported, by editing the pitch, speed, and overall appearance of the sound wave. I found that I mainly used the pitch and stretch effect to the audio clips, to get the correct depth that I needed to the sound effect. For example, for the music box sound effect, I selected part of the sound wave and heightened the pitch as well as speeding the audio up. I found that this worked well for the music box audio as it worked with the movement of the doll, leading up to the lid being closed upon it. Whereas with the sound of the lid closing was a bit harder to create as the closest sound that worked towards the ideal audio that I wanted was the sound of closing a book. I felt that I needed to make the audio ever so slightly sound echoey/hollow, to go with the volume of the music box, which I achieved with one of the distortion effects. With the added distortion effects, I then edited the audio by lowering the pitch slightly with the pitch and stretch effect.


No comments:
Post a Comment